- Member ID
- #13680
- Messages
- 8
- Reactions
- 44
- Likes
- 12
- City
- Holtsville
- State
- NY
- Country
- United States
- Vehicle
- 1970 Challenger RT
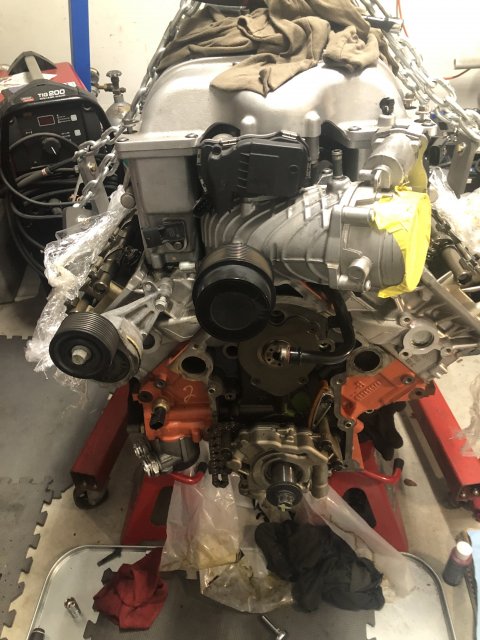
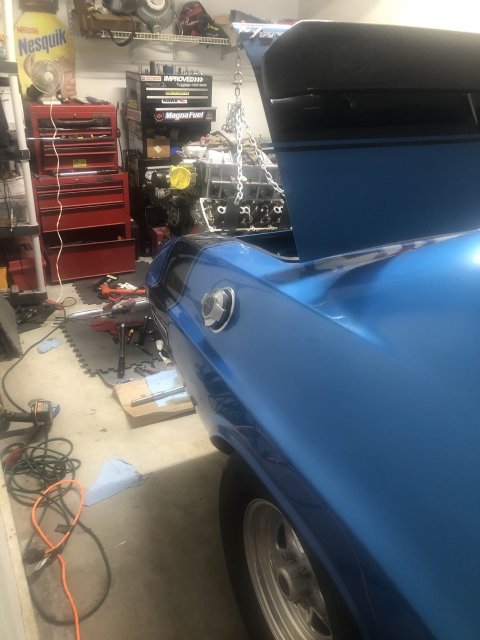
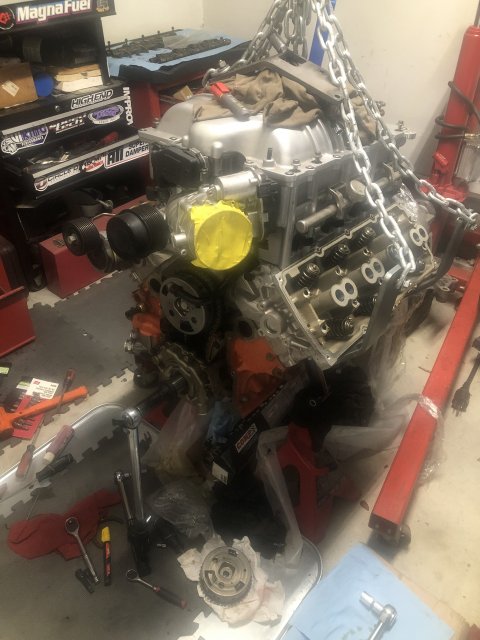
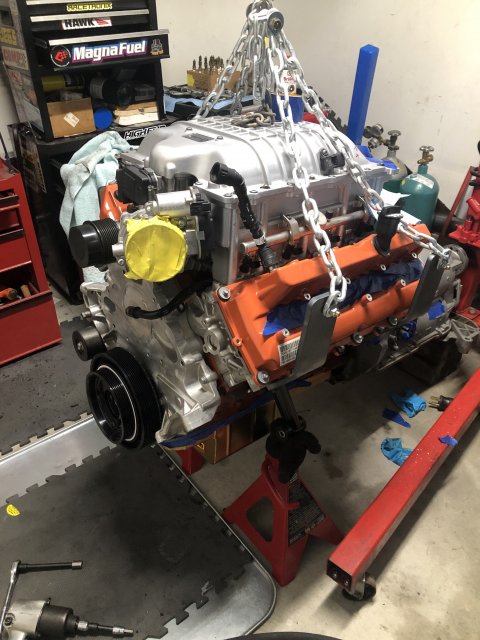
Not sure if this is allowed here, but I'm dropping a 15k mile 2018 6.2 Hellcat and 8hp90 into my 70 challenger and figured it might be cool to share. Obviously a lot of the swap stuff doesn't really concern most here who have actual hellcats, but figured I'd share some of the things that might be helpful (motor specific stuff).
I just finished up swapping an MMX NSR HC1+ cam and doing an ATI lower pulley. Going to share a few tips because I found there was A LOT of bad info out there with these mopars. I come from the LSX world and it's much easier to find accurate information, but these cars seem to have a host of people making youtube videos who act like they know what they're doing but push some false info.
I'll start with the cam swap.
1) you have to lift the blower up by removing all the long blower bolts and propping the front of the blower up with something like a wood block so you can access the coolant passage tube bolt that mates the coolant pipe with the timing cover. I tried for a while to get to it without lifting the blower and it was impossible. Don't waste your time, takes 2 minutes to remove the long blower bolts and lift the front of the blower up giving you clear access.
2) Comp's instructions for the cam phaser limiter lockout incorrectly state you need a Torx T25 bit for the cam phaser bolts. Perhaps certain years used T25, but I have seen a few cam phasers now and all of them require a TORX PLUS E25 bit. YOU WILL STRIP THE BOLTS OUT DURING YOUR FINAL TORQUE IF YOU USE A T25 AND NOT A TORX PLUS BIT. I can't reiterate this enough. IF you strip out the bolt that holds the clock spring (the "do not remove" bolt in the instructions) you are pretty much screwed unless you figure out a way to extract that bolt without unwinding the clock spring (good luck). *** all OEM phasers I have seen use the E25 (Torx Plus) but I have seen one Melling brand phaser that used E27 (also Torx Plus).
3) If you were like me and checked cam endplay with the thrust plate bolted on, don't freak out. The cam will move way too much, it's supposed to. The cam phaser/timing sprocket will pull the cam forward when bolted on and sandwich the cam between the thrust plate and THAT's when you will check cam end play, after the phaser is installed.
4) Kind of simple but an oil filter wrench (the two handle plier type) works great to safely compress the timing chain tensioner without risking damage to the chain or tensioner. The notches in the jaws fit perfectly over the chain.
5) TIMING MARKS. This is a huge one as I saw one video on youtube claiming to be able to time the motor by the oil pump splines and from what I could tell, that made zero sense and would not work (thanks to a buddy of mine who builds Mopars for a living for confirming that as I thought I was going crazy watching the video).
Best way to time the motor is to set cylinder 1 at TDC (I like to use a bore scope down that spark plug hole). This means when cyl 1 is furthest up in the bore on the COMPRESSION stroke (you should be able to feel pressure building if you stick your finger in the spark plug hole while the piston is climbing to the top and both pushrods should spin freely once the piston is at TDC indicating both valves are closed).
From there, find the timing indicator in the cam phaser/gear (it's a little rectangle on the cam gear/sprocket itself, kind of have to look behind the phaser) which should be at 12 o clock. Now you have confirmed you're at TDC. From there, I made a few parks with a paint marker.
Top of phaser at 12 o clock, gear tooth on phaser at 12 o clock, a link on either side of the gear tooth, a link on the timing chain and crank gear tooth at 6 o clock, a link and a line on both the tensioner and guide so I can match those up as well for peace of mind.
Remove the cam phaser and the cam pin should be at 12 o clock. Install the new cam and line it all up the same way with your marks.
6) Rocker Shaft Assembly. I found these are NOT torque to yield bolts, they CAN be re-used despite even a dealership tech telling me otherwise. They have a torque angle measurement in the sequence but this is to account for lifter bleed down and nothing to do with bolt stretch.
ATI Balancer install:
Can't really help much with the correct tool, I just put two balancer remover/installer tools together and was able to make a hybrid to remove the factory balancer.
for install, you're probably better off using a long stud (M16x1.5 I believe, most tools don't have it) to install, but if you have some experience with this you can do what I did and just hammer on the hub with a wood block until you are in deep enough to use the old bolt to walk it in. I like to use anti seize behind the washer for added lubrication. Just be very careful using this method because if you hammer it on crooked you could end up damaging the balancer or crank. I have usually found this is pretty difficult to mess up though since of the tight fit. You need to make sure you can hammer it on enough to get more than a few threads to engage on the bolt, and if it feels like it's taking a ton of tension to tighten, stop and go find a stud before you strip threads out.
You are really supposed to mic and hone these things, but i've never had one yet on a factory crank that couldn't be pulled on fairly easily providing you use a coating of anti seize on the crank and in the hub bore. Don't try to install one dry, you are asking for trouble. I didn't need to boil it or heat it in an oven or anything. There were a few gentle pops going on which indicates it probably could have used a thou or two honed out of it but nothing that made me worried it would damage anything going on or give me an issue in the future coming off, and i'd rather have it on the tighter side for obvious reasons.
Everything else is just following instructions, like grinding the timing cover bolt and AC mounting boss for the ATI pulley. Just go easy, take your time and take a little at a time off with frequent test fits. You can always take a way, but you can't add more back (without a TIG welder anyway).
I'm no expert on these Gen3 Hemis by any means so take this all with a grain of salt but hoping these tips could help someone else doing the same or similar mods.

Attachments
-
1.7 MB Views: 30
-
1.8 MB Views: 32
-
1.8 MB Views: 31
-
12
-
4
-
4
-
4
- Show All


